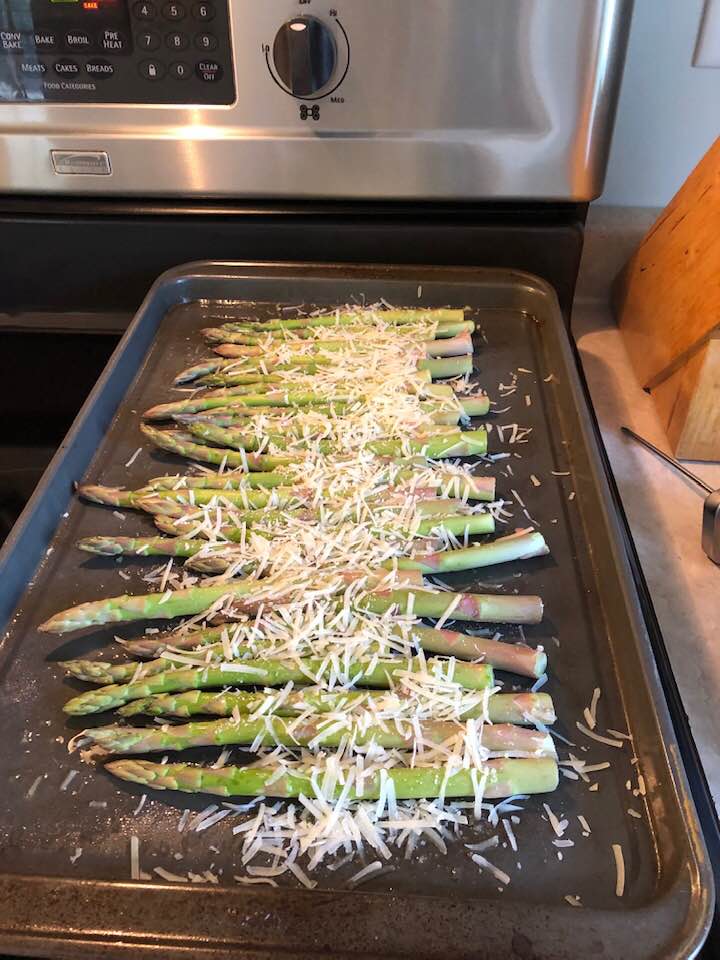
July 26, 2019
207/365
Prepping food for a great dinner date!

July 26, 2019
207/365
Prepping food for a great dinner date!
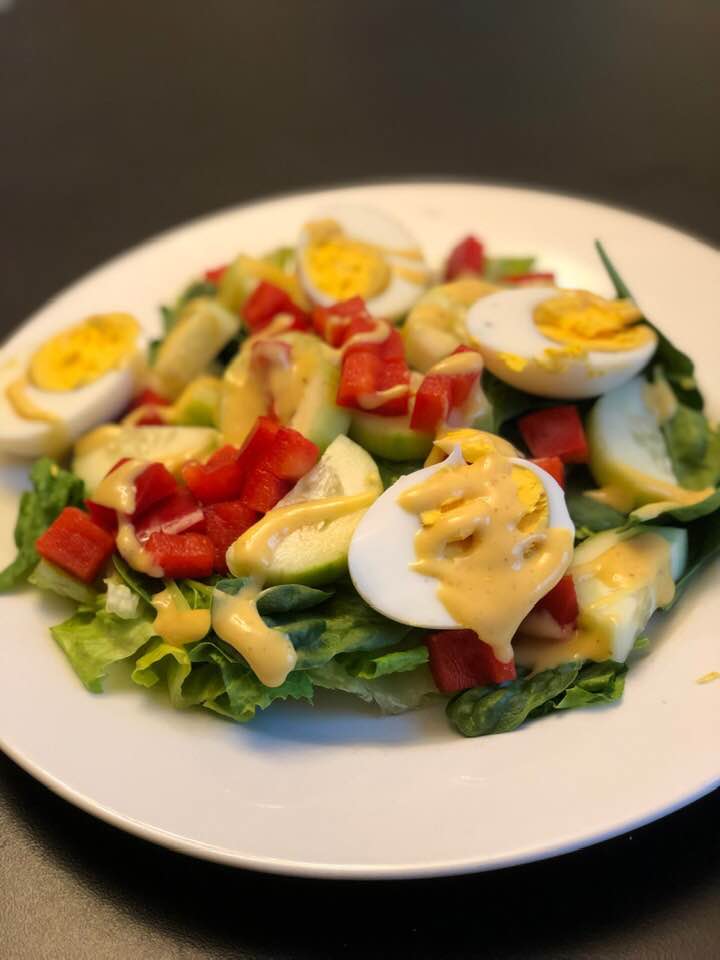
April 22,2019
112/365
Hubby and I made a delicious salad tonight. Fresh and simple was the plan for tonight.
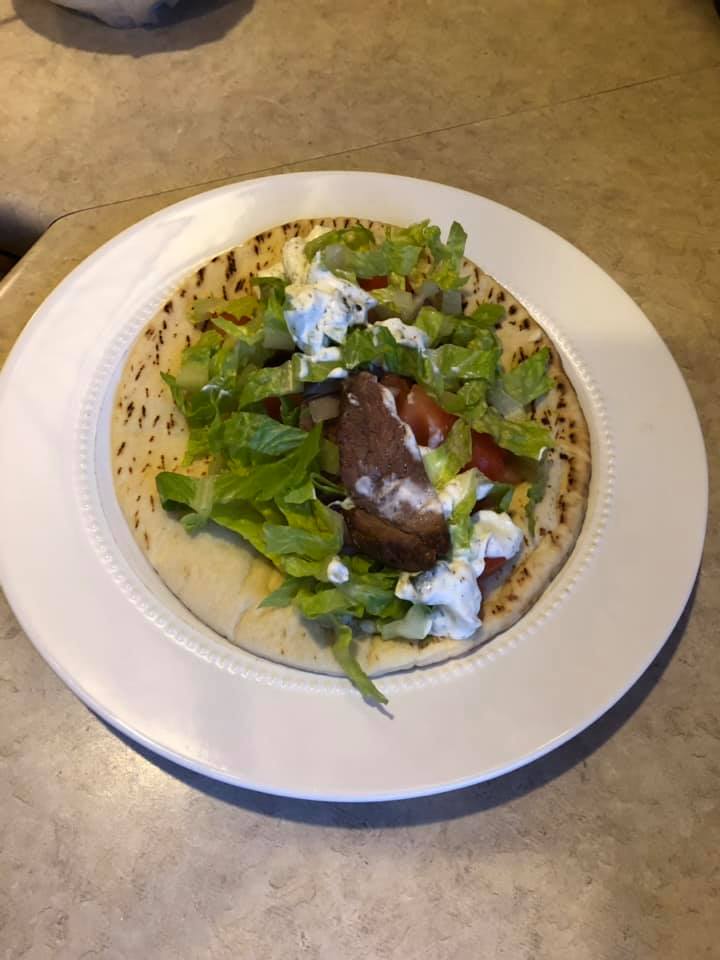
March 8, 2019
67/365
My menu for tonight was Greek Gyros. I have never cooked lamb before. I seared it and baked it @375 degrees. Then I sliced it up with red onions, lettuce and tomatoes with a drizzle of cucumber/dill sauce on pita bread. Well, the verdict from hubby.. “Well done, Peanut! Well done!”
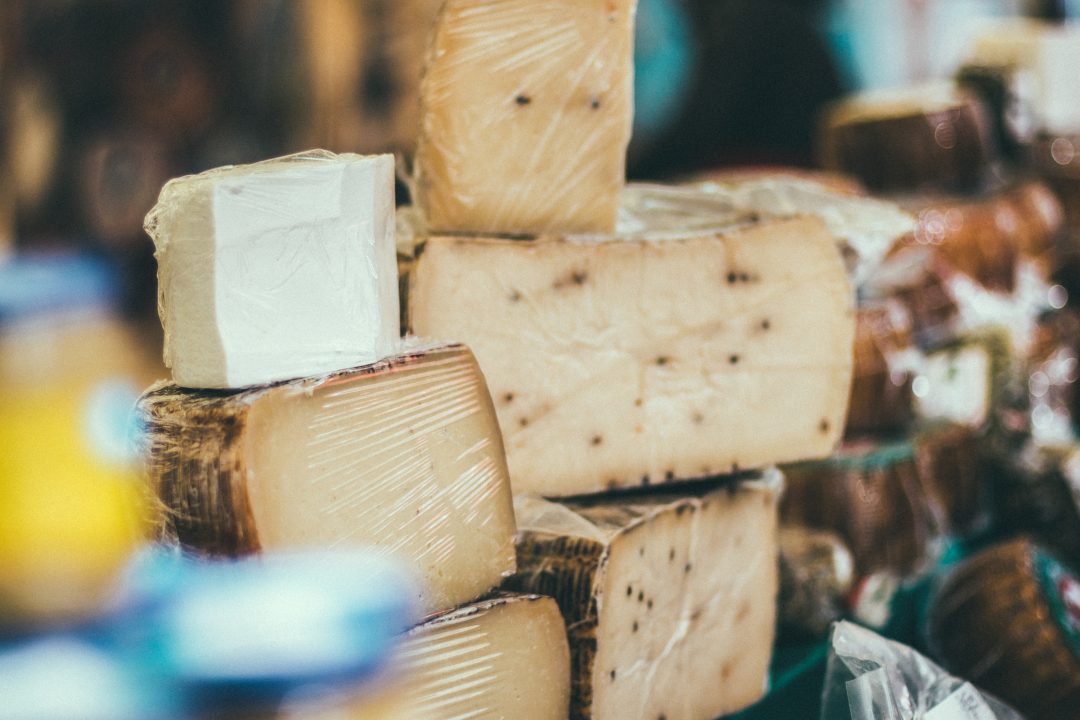
I don’t know about you but who doesn’t like brie, cranberry and crescent dough. Like many of you, you saw this amazing recipe on your Facebook news feed. Well, I tried it out and loved it. It’s so simple to make and people will devour them like candy. Win/Win for me.
Here is what you will need to make this simple, yet delicious appetizer.
Ingredients:
All-purpose flour (for dusting the dough and cutting board)
1 (8 oz) tube crescent roll dough
1 (8 oz) wheel brie cheese
1 cup whole cranberry sauce (p.s. I used a can of cranberry and it was just fine.)
fresh rosemary sprigs
Directions:
Preheat oven to 375°f degrees.
Spray a mini muffin tin with cooking spray.
Spread a little flour out onto your counter and then roll out crescent dough and pinch seams together. Cut crescent roll dough into 24 equal-sized squares. Place squares into mini muffin tin slots. I used Pillsbury crescent dough. I haven’t tried phyllo dough, but that will be my next cooking adventure. 🙂
Bake until the crescent dough is a light golden-brown color. I followed Pillsbury crescent roll cooking time and watch very closely. My cooking time for these mini delights were about 10 – 12 minutes.
For more information or a video, press the link below.
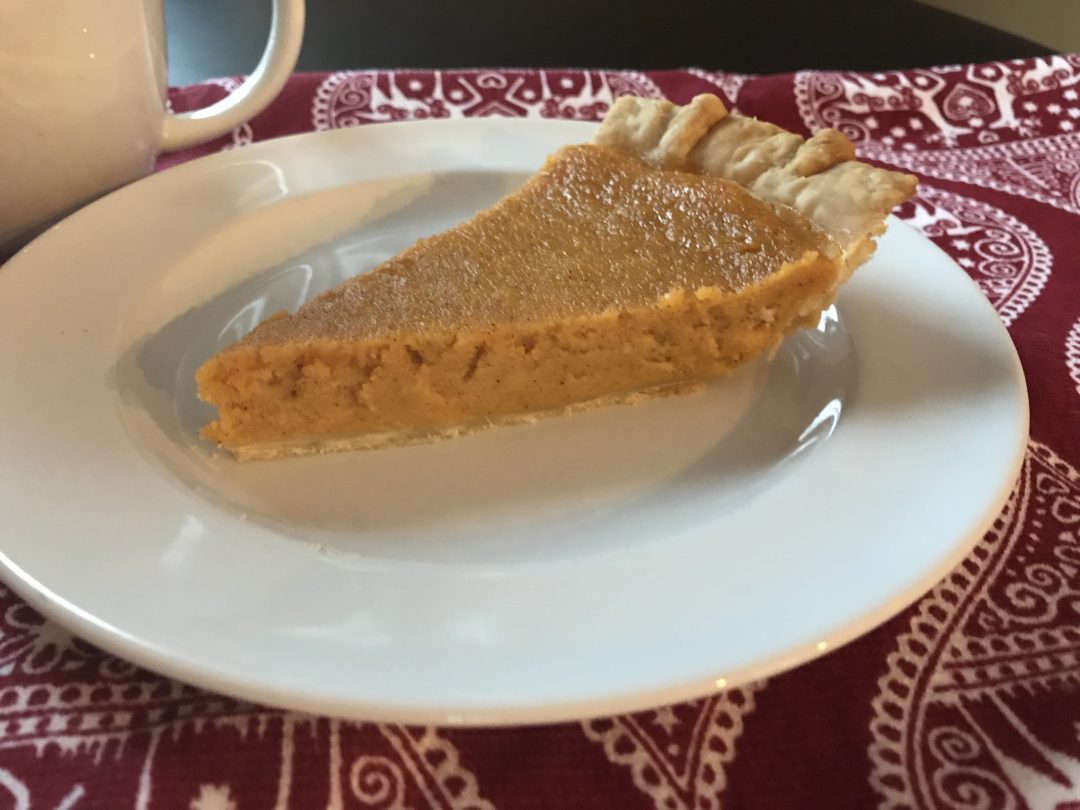
Sweet potato pie is a Southern tart that will make you hum with every bite. This wonderful pie was developed by African-American slaves but, historically, it appears to go as far back to the early colonial days.
I learned this recipe from my Carolina grandmother, Ma’ma Cockrell. The one thing that I can’t even replicate is her homemade crust. Thank goodness for Pillsbury pie crust, because I would be lost without it. Without further ado, here is the recipe for this delicious, subtly spiced treat.
Ingredients
1 (1 pound ) Sweet Potato ½ teaspoon Nutmeg
½ cup Butter (softened) ½ teaspoon Cinnamon
1 cup White Sugar 1 teaspoon Vanilla Extract
½ cup Whole Milk 1 (9 inch) unbaked pie crust
2 Eggs
Directions:
I look forward to hearing how your sweet potato pie turned out. Now, get to cooking!
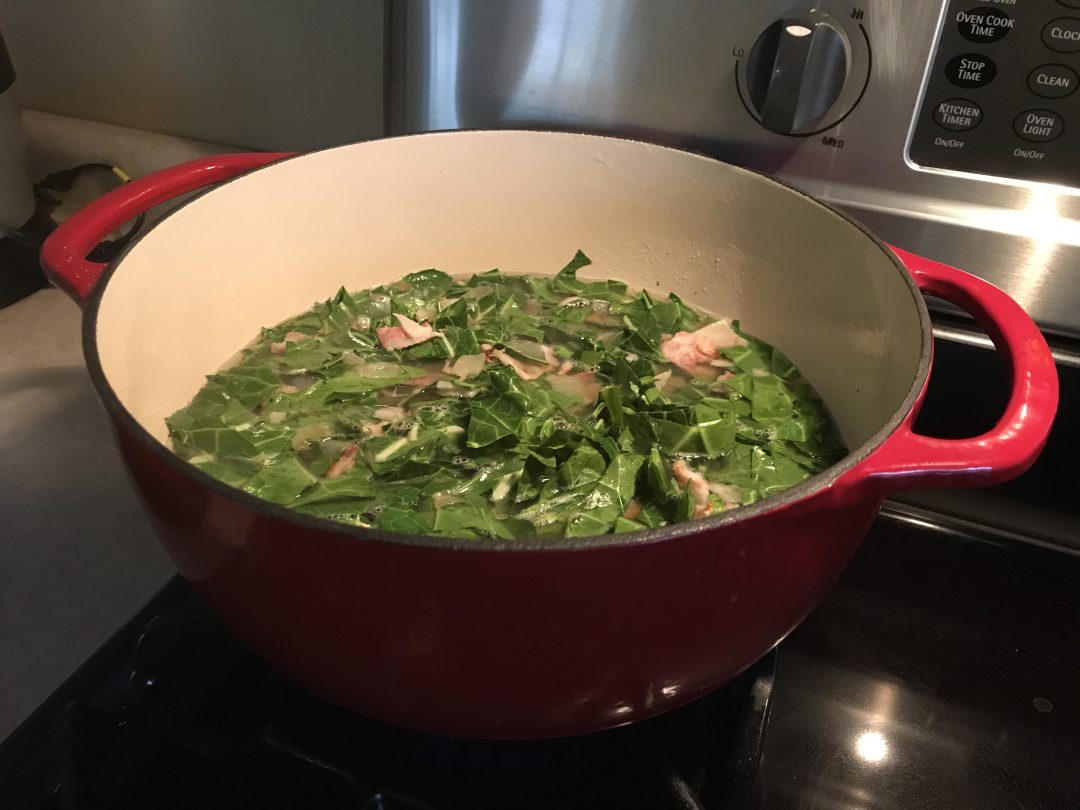
As a Southern girl, collards greens are a must have at the dinner table. The history of this green goes way back to prehistoric times but the style of cooking it came from African slaves. The plantation kitchens gave their help any leftovers and with that said, nothing was every wasted including pig’s feet or ham hocks.
When I was a little girl, my grandmother cooked collard greens by the stockpot full. These greens would simmer for hours. Mind you, collard greens is from the cabbage family and can create strong smell of awesomeness to some and for others, not so much.
Here’s how to cook up some mess o’ greens:
Ingredients
1 Mess o’ Collard Greens – cleaned, patted dry and vein removed.
1 Package of Bacon
1 Valdia Onion
1 Box of Chicken Broth
2 Tablespoons of Sugar
Salt & Pepper to taste
1/3 cup of Apple Cider Vinegar

Let me know how your collard greens turned out! I would love to hear from you. Feel free to email me or comment below.
During my fitness journey, I learned that food prep is a must. So when Sunday rolls around, my husband and I plan out what we are going to eat for the week. You are probably thinking that you don’t have time for all that jazz. Well, the benefits are huge and here’s why.
Saves you ton of CASH. When your refrigerator is stocked with delicious healthy and prepared options, you are less likely to go out to grab fast food or to a restaurant. If you eat out every day of the week at a cost of $20 or $50 (couple), that is a whole lot of money that could be put towards a rainy day, house or other big adventure.
Saves you TIME! When food is already prepped, you don’t have to waste time thinking of what you are going to eat, you can stay on track with your macros and the best part, you have more time to hit the gym or spend time with family.
Saves you from CHEATING! Y’all… You know that this is the truth! If it ain’t in your house, you can’t eat it. I can’t have certain foods in my house. The foods that are my downfalls are certain cereals, potato bread, Girl Scout cookies and Reese peanut butter cups. They are not allowed in my house, period.
Keeps you on TRACK. You already invested so much time at the gym, money for a personal trainer, equipment and stylish clothes to have it all undone because of a bad diet. Every trainer will tell you the same thing. You can’t out train a bad diet. If you are worried about eating the same thing over and over again, Pinterest has amazing clean food recipes.
Well, you are probably wondering what is on my food list. During my prep for competitions, it is really strict with chicken, brown rice, quinoa, sweet potato, green beans and broccoli all the time. I have food sensitivities and straight up allergies to certain foods, so this is my food list at the moment.
Meat/Fish/Eggs
Chicken Breast
Turkey Breast
Tuna
White Fish
Salmon
Eggs (whole and whites)
Carbohydrates
Sweet Potatoes
Brown Rice
Quinoa
Oats
Rice Cakes
Ezekiel Muffins – Cinnamon Raisin
Fats
Avocado
Barney’s Almond Butter
Vegetables
Spinach
Asparagus (Love them)
Cucumber
Broccoli
Green beans
Zucchini
Fruits
Apples
Blueberries
Trust me, I do eat other types of food, but I track everything that I eat to ensure that I fuel my body with the right amount of protein, fats and carbs to either maintain my weight, build more muscle or lean out for a competition. All of this is done carefully so no harm is done to my body or my metabolism.
Just note, clean eating doesn’t have to be hard and it all starts with one small step forward.
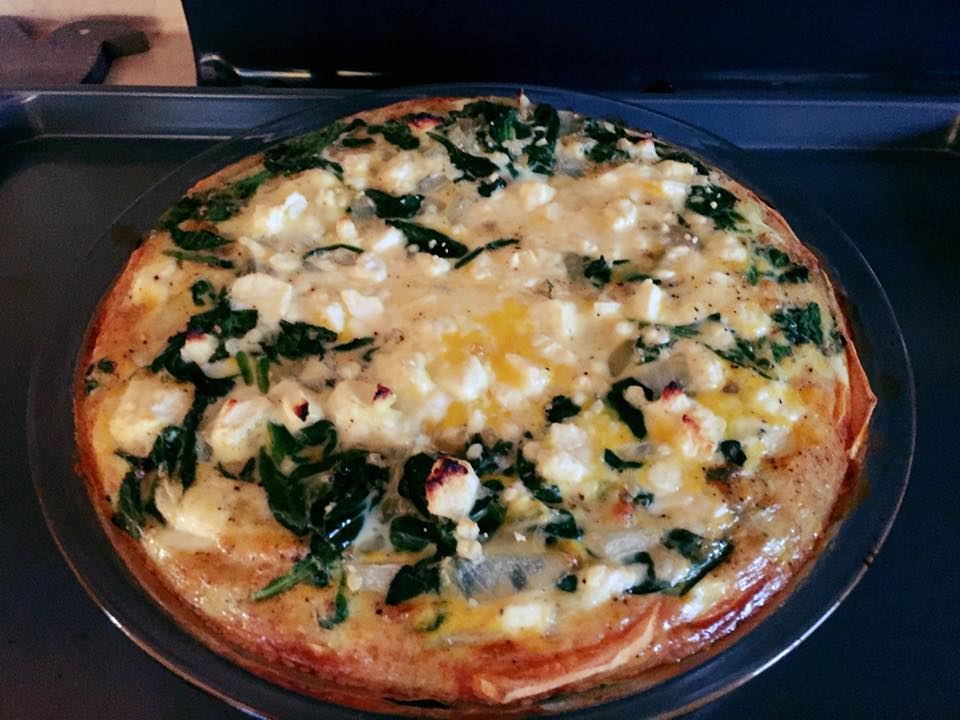
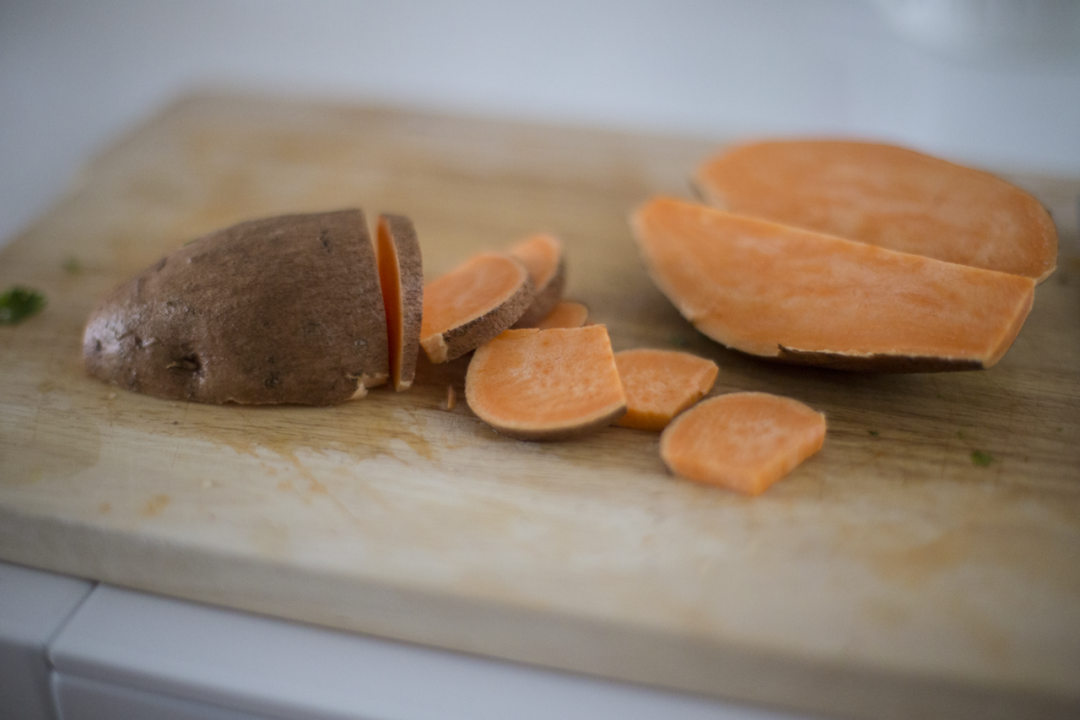
Hey Y’all. I found the best recipe for a quiche that incorporates my favorite thing in the world, sweet potatoes! I made some small tweaks to this recipe for my taste buds, so here we go.
Ingredients
2 medium sweet potatoes
1 bag of baby spinach
½ cup of milk – I use almond milk.
½ teaspoon salt
¼ teaspoon black pepper
4 large eggs
2 large egg whites
1.5 ounces feta cheese, crumbled
Sweet Potato Crust
Spinach, Onions & Filling
For a video with step by step instructions from Cooking Light, press the link below:
http://www.cookinglight.com/food/vegetarian/sweet-potato-quiche-crust
Let me know how you like it! If you have a favorite recipe, please comment below or email me. I would love to hear from ya.
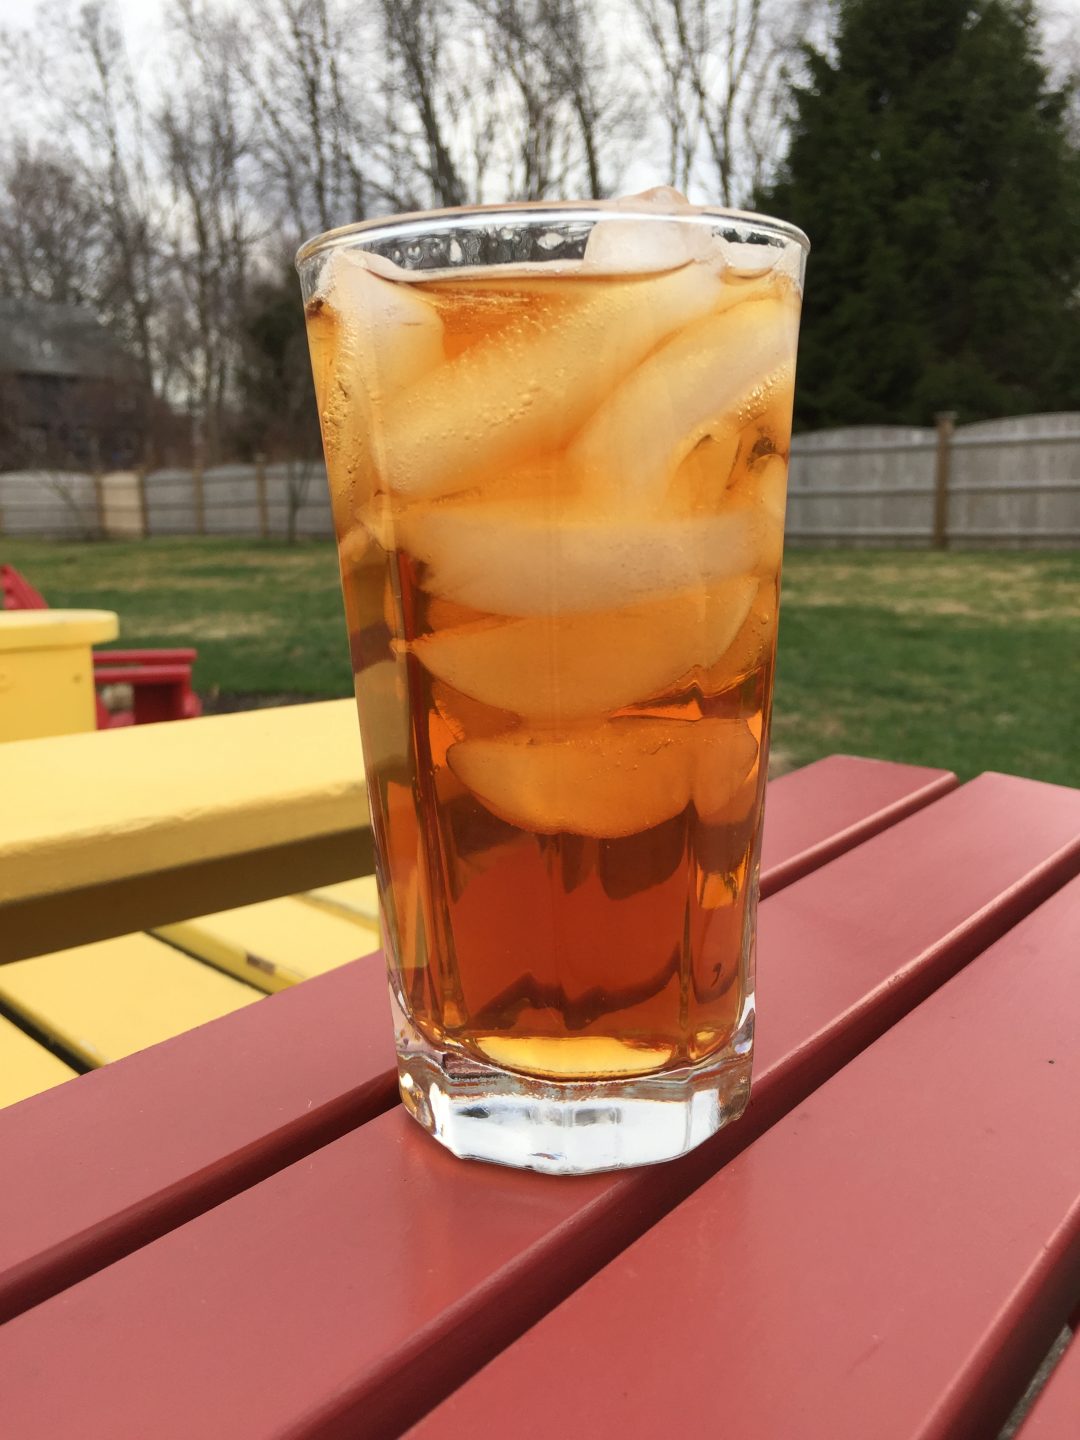
Who would love a glass of good ol’ sweet tea? Well, if you asked this question in the South, it would be a resounding YES! However in Massachusetts, they would look at you like you had two heads.
History of sweet tea goes as far back as the late 1700s. South Carolina was known for being the only state to produce the tea commercially. In the 1800s when ice boxes were common, the idea of creating different kinds of tea and tea punches were published in a variety of community cookbooks.
By the 20th century, tea being served cold was common place. Why?… It is hotter than hell in the South and during the American Prohibition, it was a good alternative to illegal alcohol. Many well-known cookbooks, like Southern Cooking by Henrietta Dull, set the standard on how it was to be made. All ladies of society had this book and did their best to follow her recipe to a tee.
One of the biggest don’ts in preparing tea was that milk was never to be served with it. Well, darn, if New Englanders can have medium, regular ice coffee, why can’t Southerners have medium iced tea with milk?
If you want to try my recipe for the two types of traditional teas, Ice Tea and Sweet Tea, the recipe is the same but the only difference between the two is SUGAR.
Traditional Ice Tea and Sweet Tea Recipe
Do you have a favorite tea recipe that was passed down to you? Please let me know and as always, thanks for stopping by.